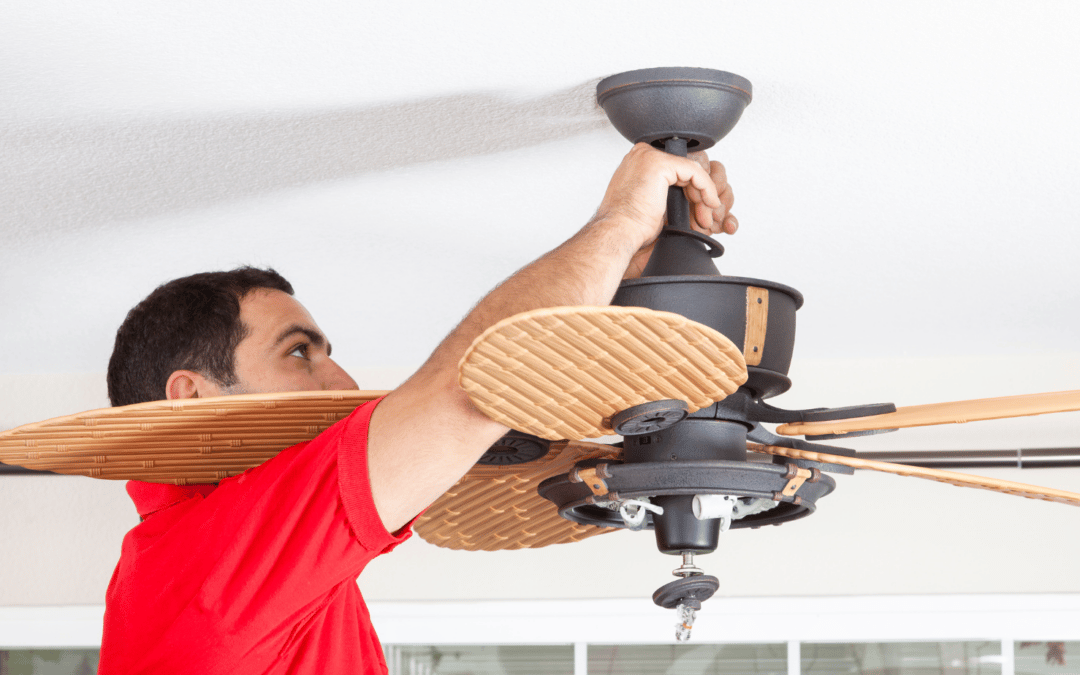
Ceiling fans are one of the most cost-effective ways to keep your home cool. Fans themselves are affordable and, assuming the electrical work is in place, relatively easy to install.
But what if in addition to air circulation you want to add overhead light to your room? Fear not! You don’t have to replace your entire fan with a brand new fan/light combo unit; you can purchase a ceiling fan light kit!
What is a ceiling fan light kit?
A ceiling fan light kit is an easy and inexpensive way to add light to your existing ceiling fan. The kit includes a light or multiple lights and the pieces required to attach the light(s) to your existing ceiling fan. Whether your fan includes no light at all or you want to change the style of your light, a ceiling fan light kit makes it easy and affordable to do.
How much does a ceiling fan light kit cost?
Whereas a new fan with lighting may cost $100-$300, you can purchase a light kit to add light to your existing fan for as little as $50.
Where can I purchase a ceiling fan light kit?
You can purchase a ceiling kit light fan at home improvement stores like Lowe’s and Home Depot.
How do I know which ceiling fan light kit will fit my fan?
While you will find some light kits labeled “universal,” it’s probably best to purchase a light kit from the same manufacturer as your fan and check for model number compatibility.
How do I install a ceiling fan light kit?
While all ceiling fan light kits are unique and provide their own instructions, the steps below will walk you through the basics. Ultimately, once you purchase your light kit, we recommend you follow the steps that come with the kit.
Remember, electricity is nothing to play with. If you are in Marietta or Metro Atlanta and you don’t feel comfortable working with electricity, please give us a call. We’re happy to install your ceiling fan light kit for you!
Want to give it a go yourself? Here are some basics.
- Safety first! Turn off power to your ceiling fan at the wall switch and the breaker box.
- Secure the following tools to install your ceiling fan light kit:
- A Phillips head screwdriver
- A ladder tall enough for you to reach your fan comfortably
- Make sure your fan includes a housing assembly, which is typically located at the center of the fan where the blades meet and includes the two wires you will need to connect your light kit. You will likely need to remove a cover to reveal the assembly. If your fan does not include this component, you will be unable to install a light kit.
- Assuming you have a housing assembly, remove the assembly cover using a screwdriver.
- Unbox the light kit parts and make sure all of the parts are included.
- Now it’s time to attach the new light kit to the housing assembly on the fan. On the light kit, unwrap the wires and stretch them out. If your kit includes a nut and washer, remove those and set them aside.
- Looking at the fan, identify the white (neutral) and non-white (hot) wires coming out of the housing assembly. Connect the light kit’s white wire to the fan’s white wire. Connect the light kit’s non-white wire to the fan’s non-white wire. Note – wire colors may vary, so be sure to follow the instructions that accompany your light kit.
- Tuck the wires into the housing assembly and connect the light kit to the housing assembly with your screwdriver and the screws you removed to detach the cover. Note – some kits rely on reusing the original cover.
- Now it’s time to attach your light shade or shades. Many shades attach with a lock and twist technique that requires no additional tools.
- Finally, insert and screw in your light bulbs. Make sure to use the bulbs that come with your kit or the bulbs the kit recommends.
- If applicable, attach light and fan pull chains.
- Test your light and fan by turning on the power at the circuit breaker and then at the switch.
You did it! Enjoy your cool and well-lit room!
Need help installing your light kit in Marietta or Metro Atlanta? Just reach out!

